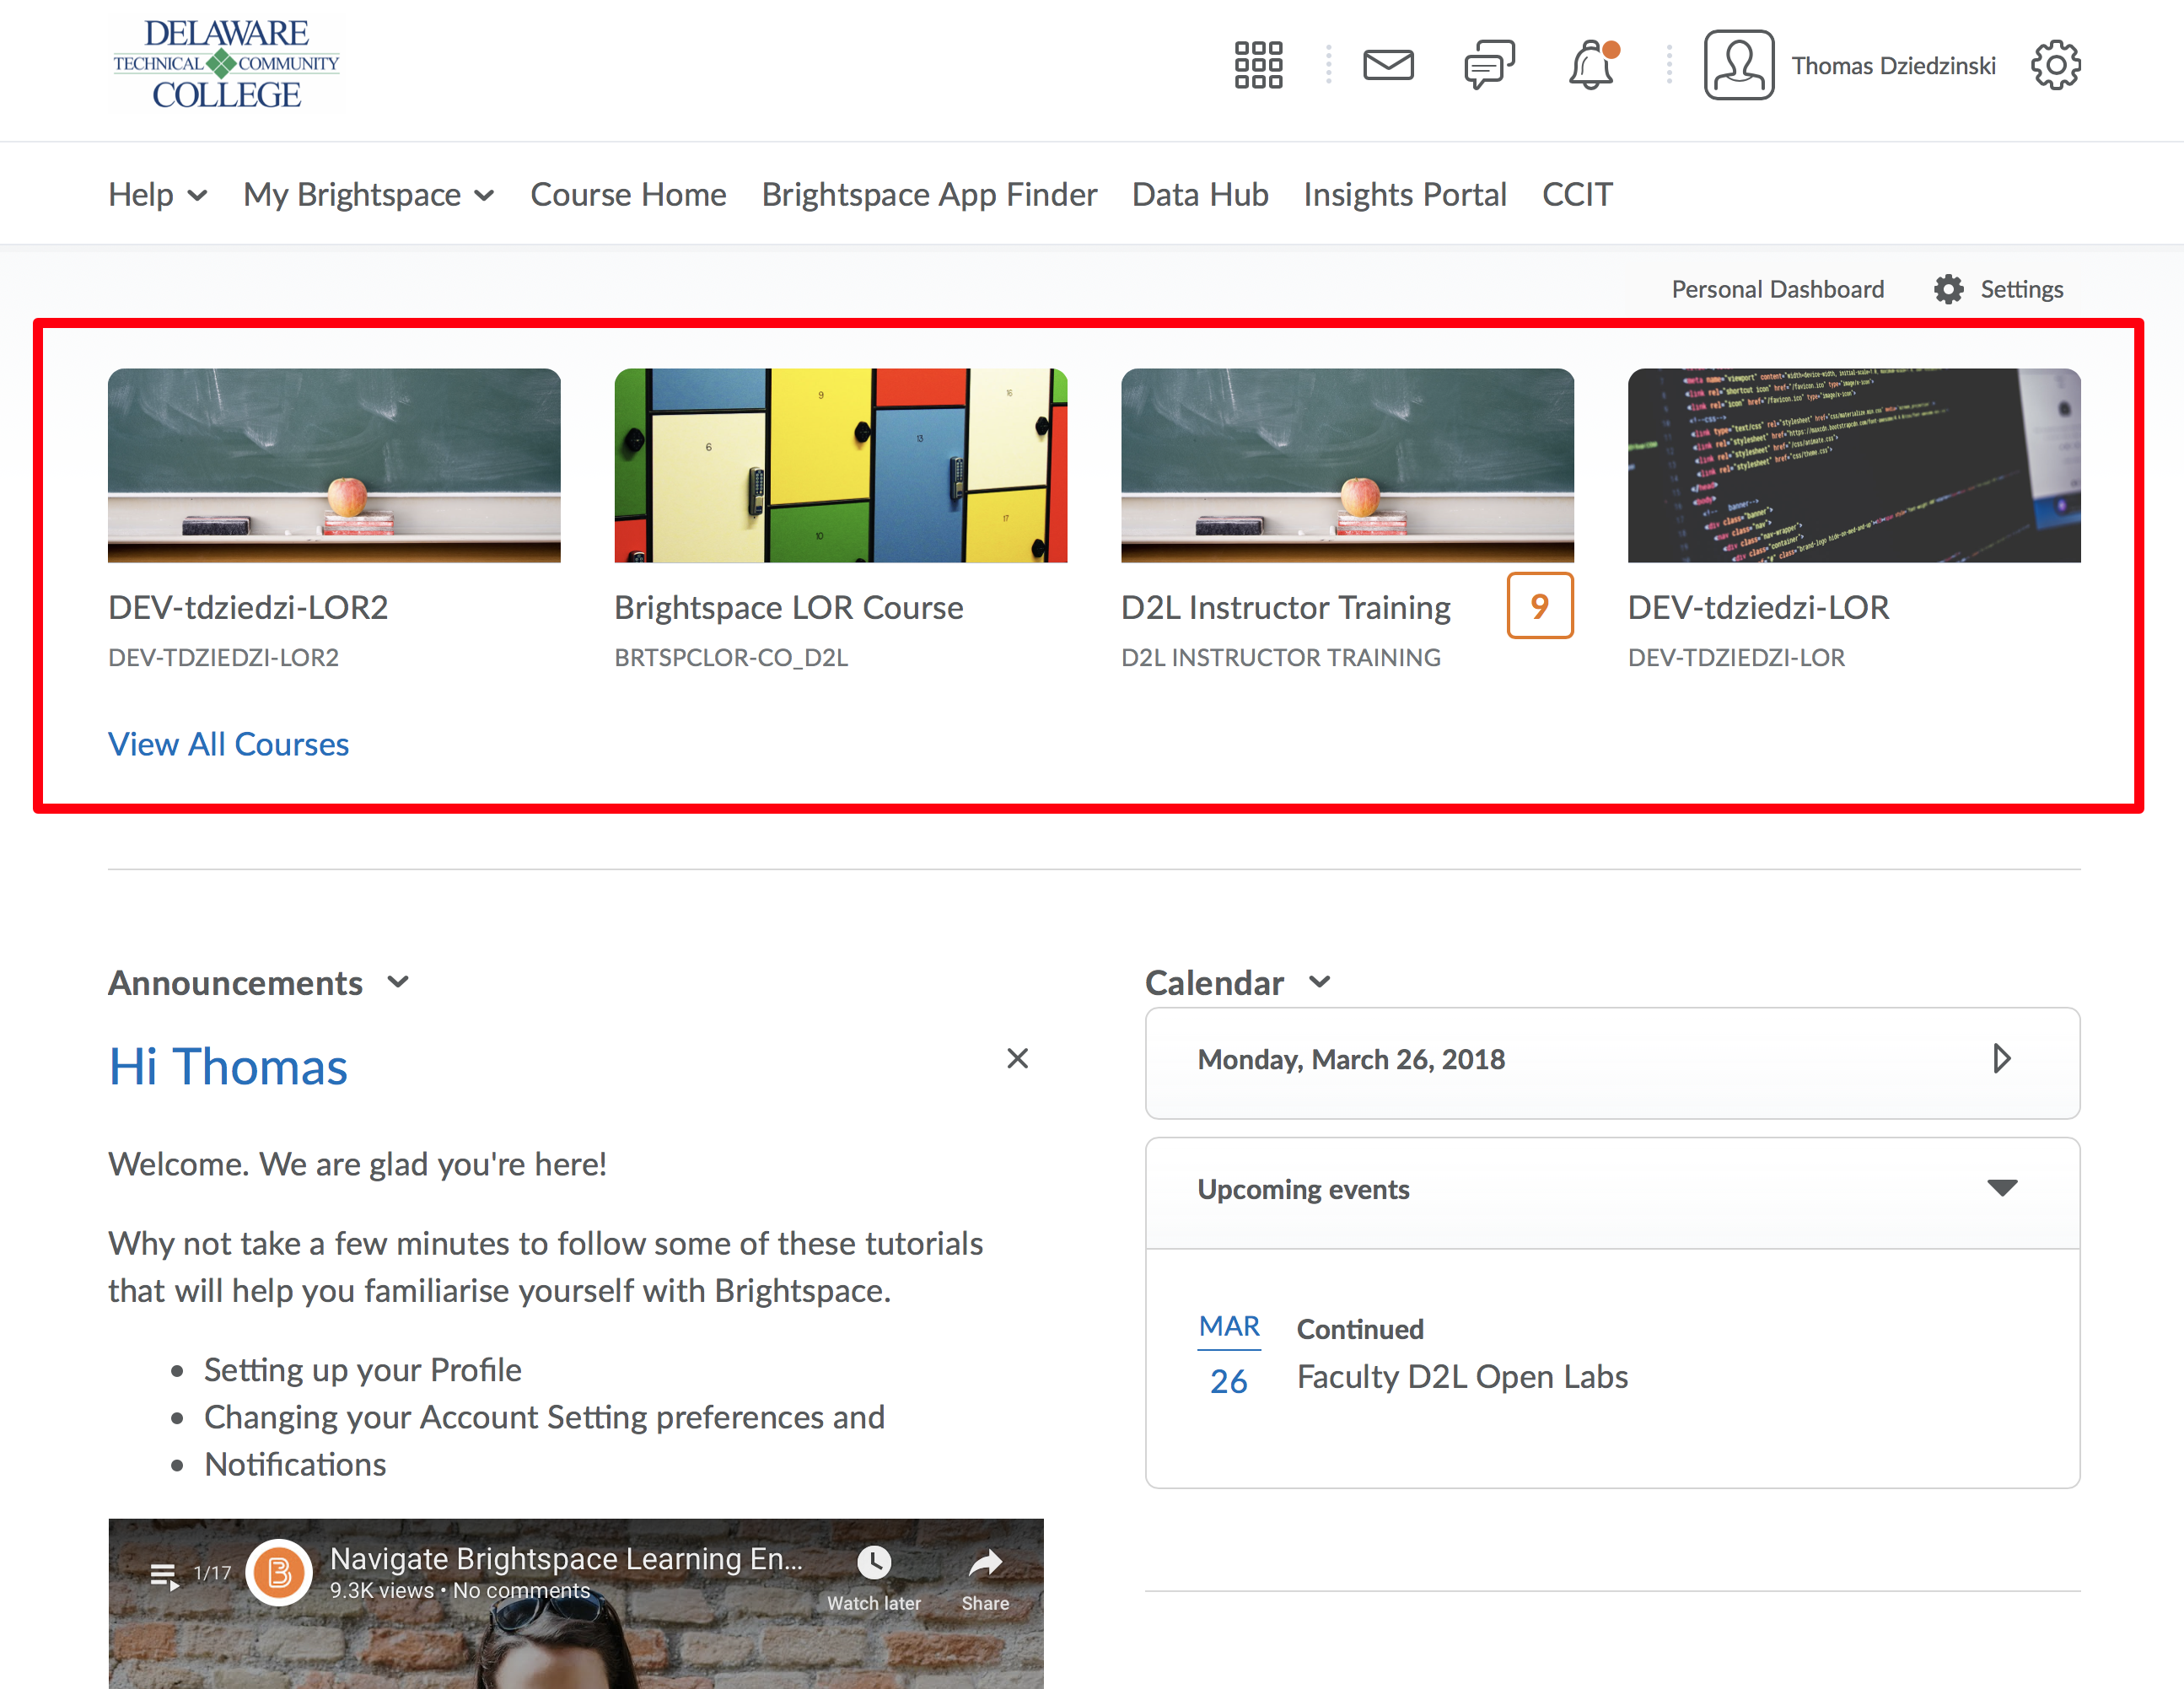
Step 1
From your Dashboard, click on a course.
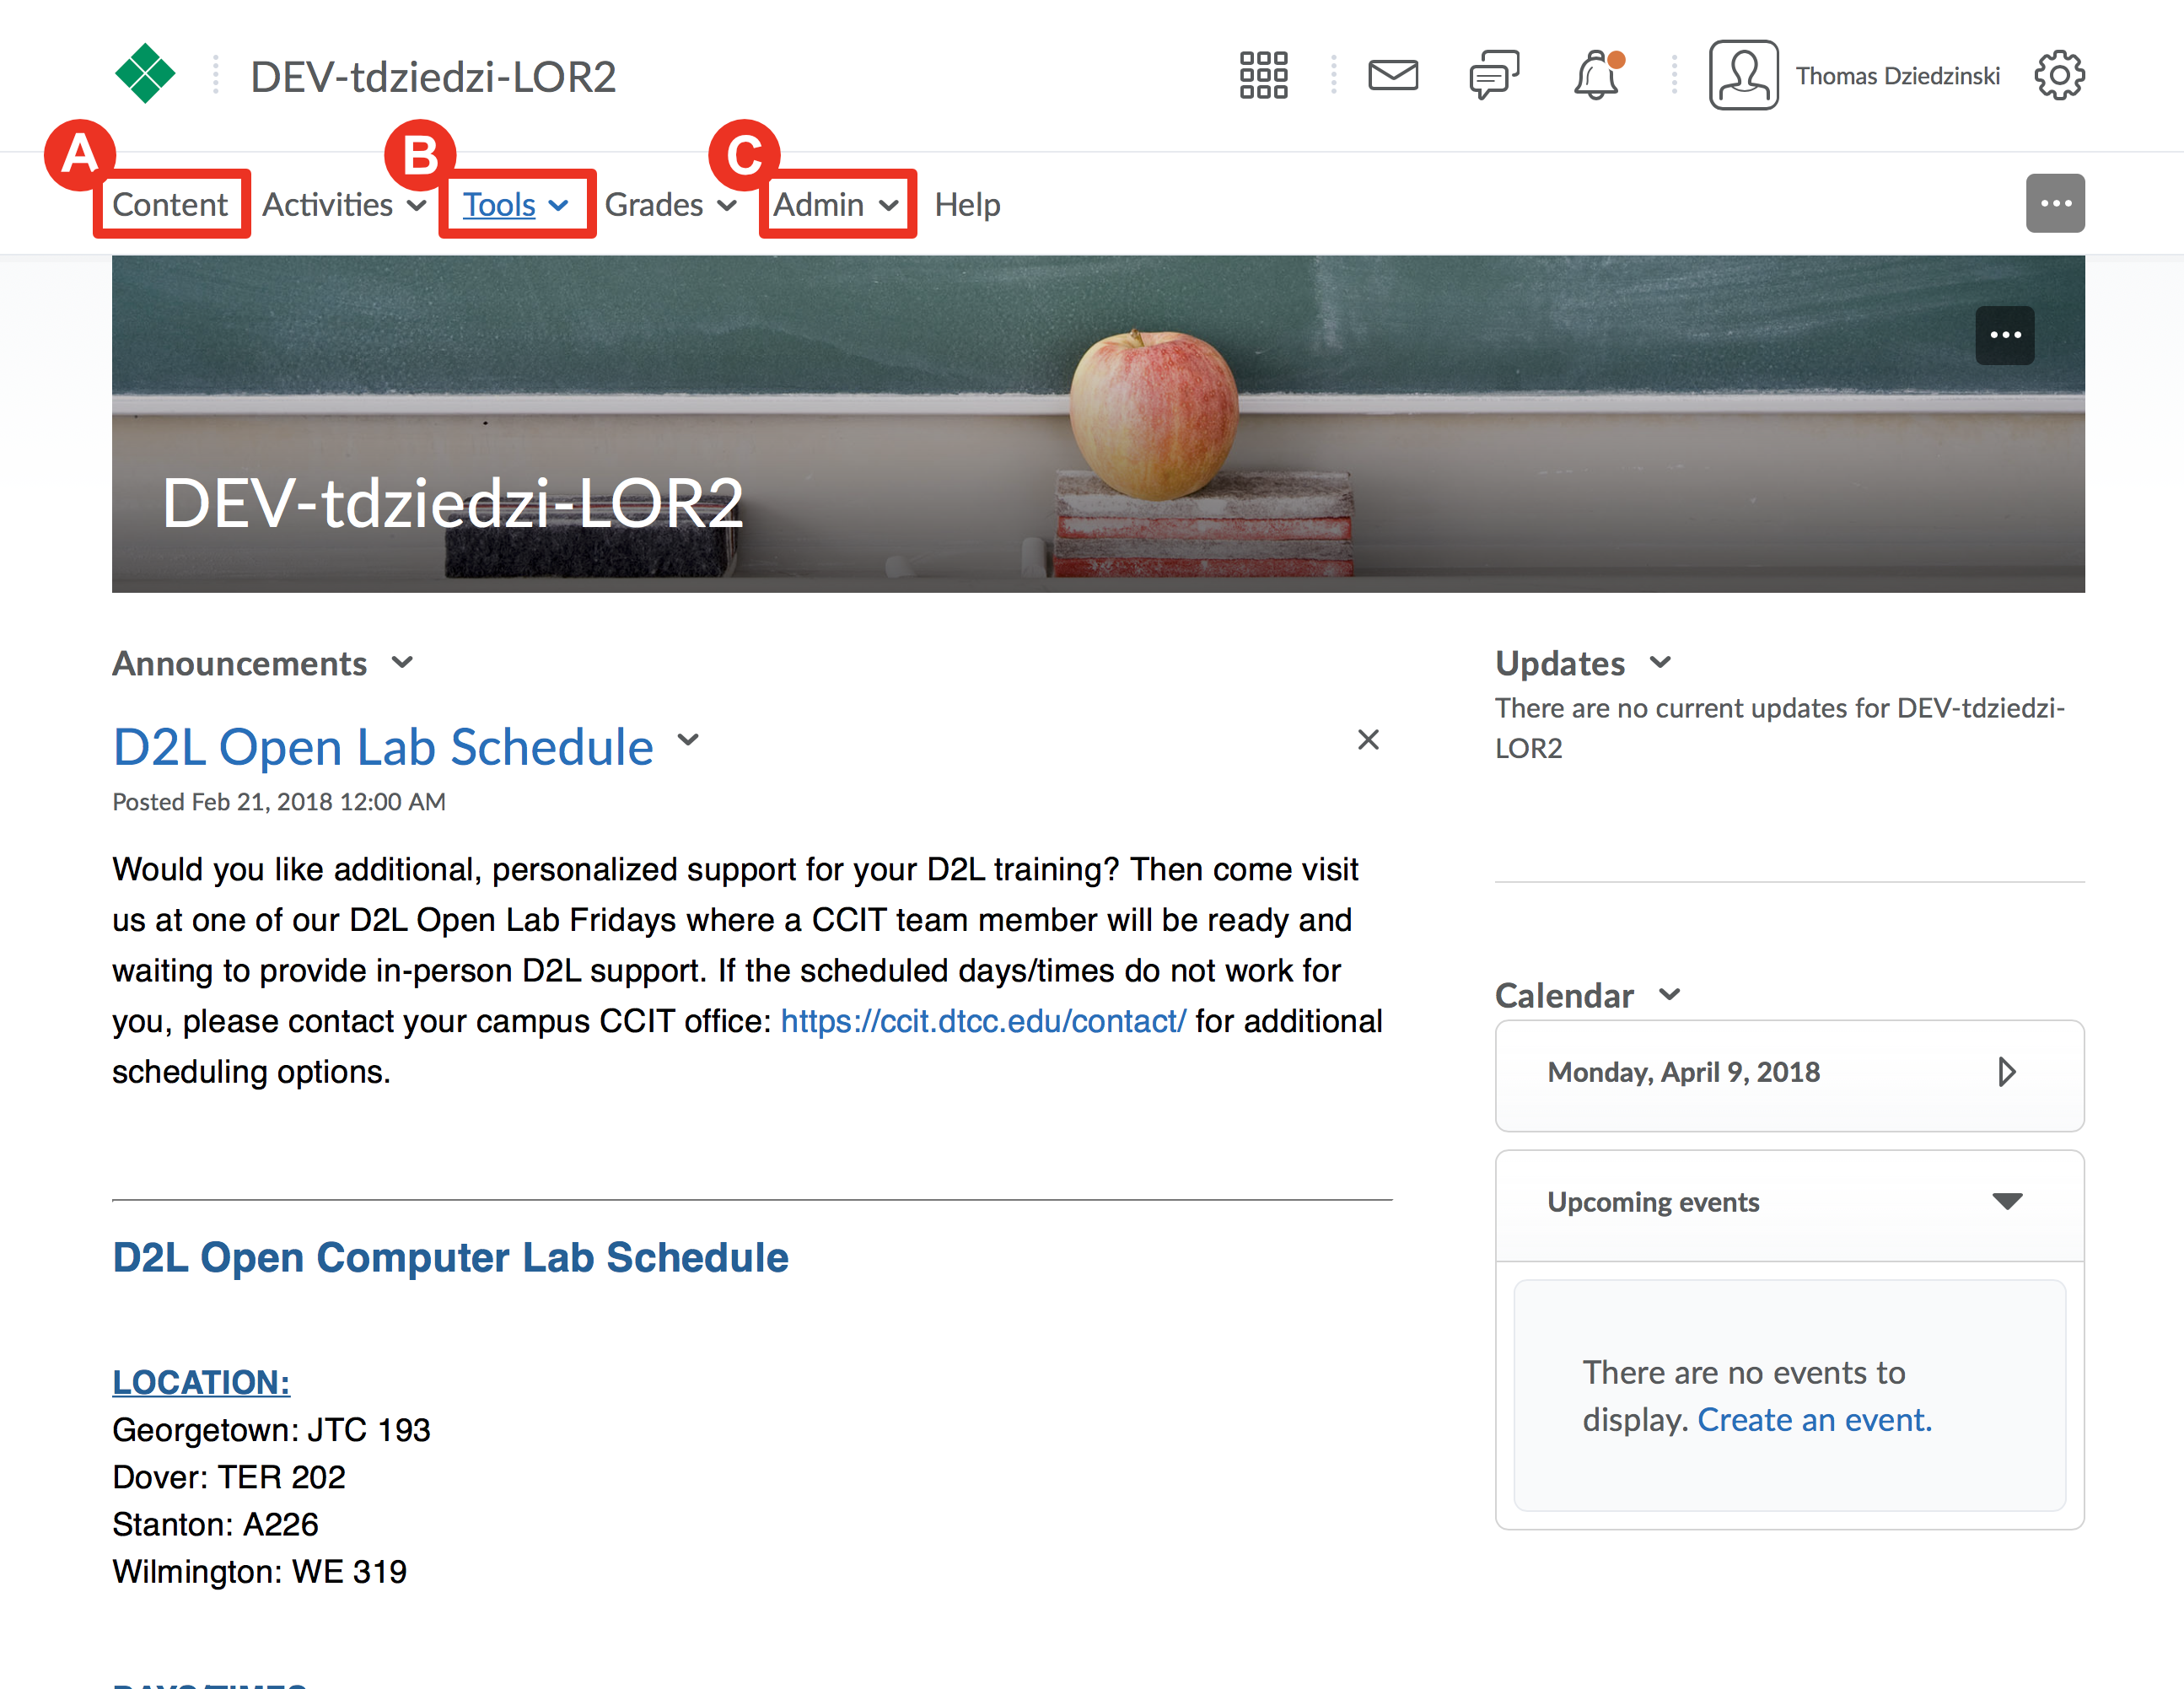
Step 2
Using the previous methods in this module, choose where you would like to publish from:
(A) Course Content
(B) Directly from LOR (from Tools)
(C) Course Files (from Course Admin)
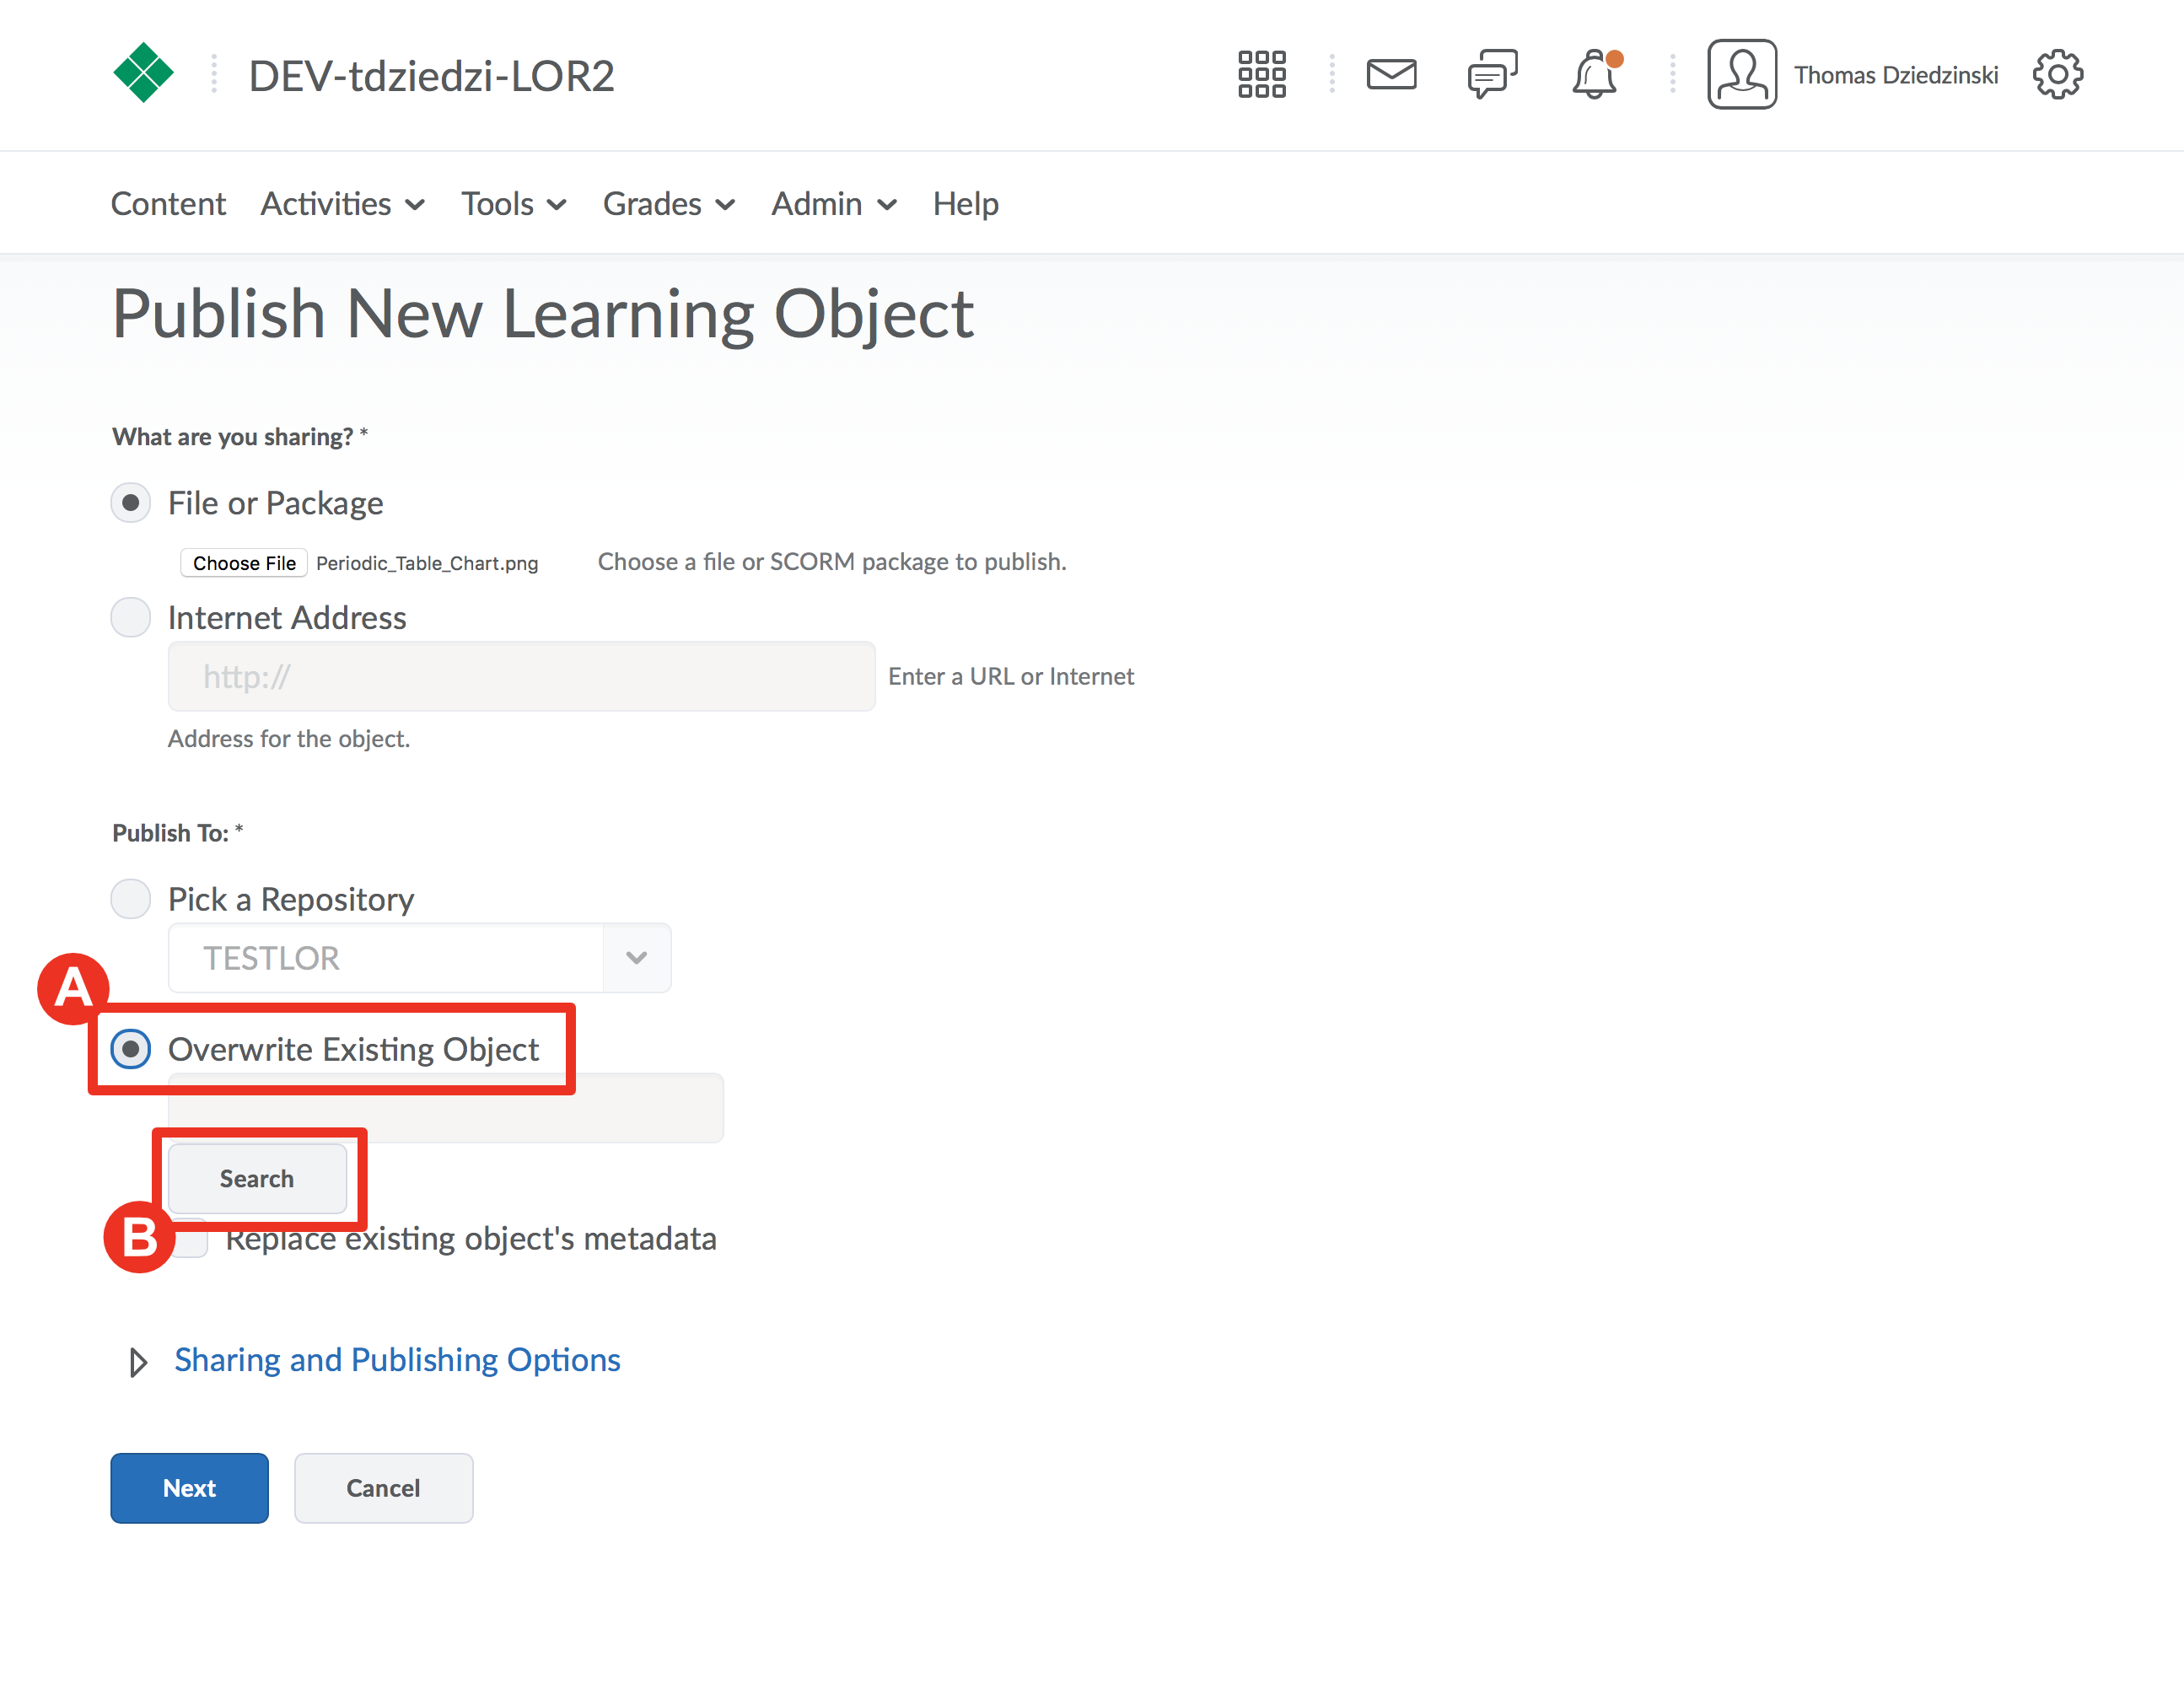
Step 3
Select "Overwrite an existing object" (A)
Then click the "Search" button (B)
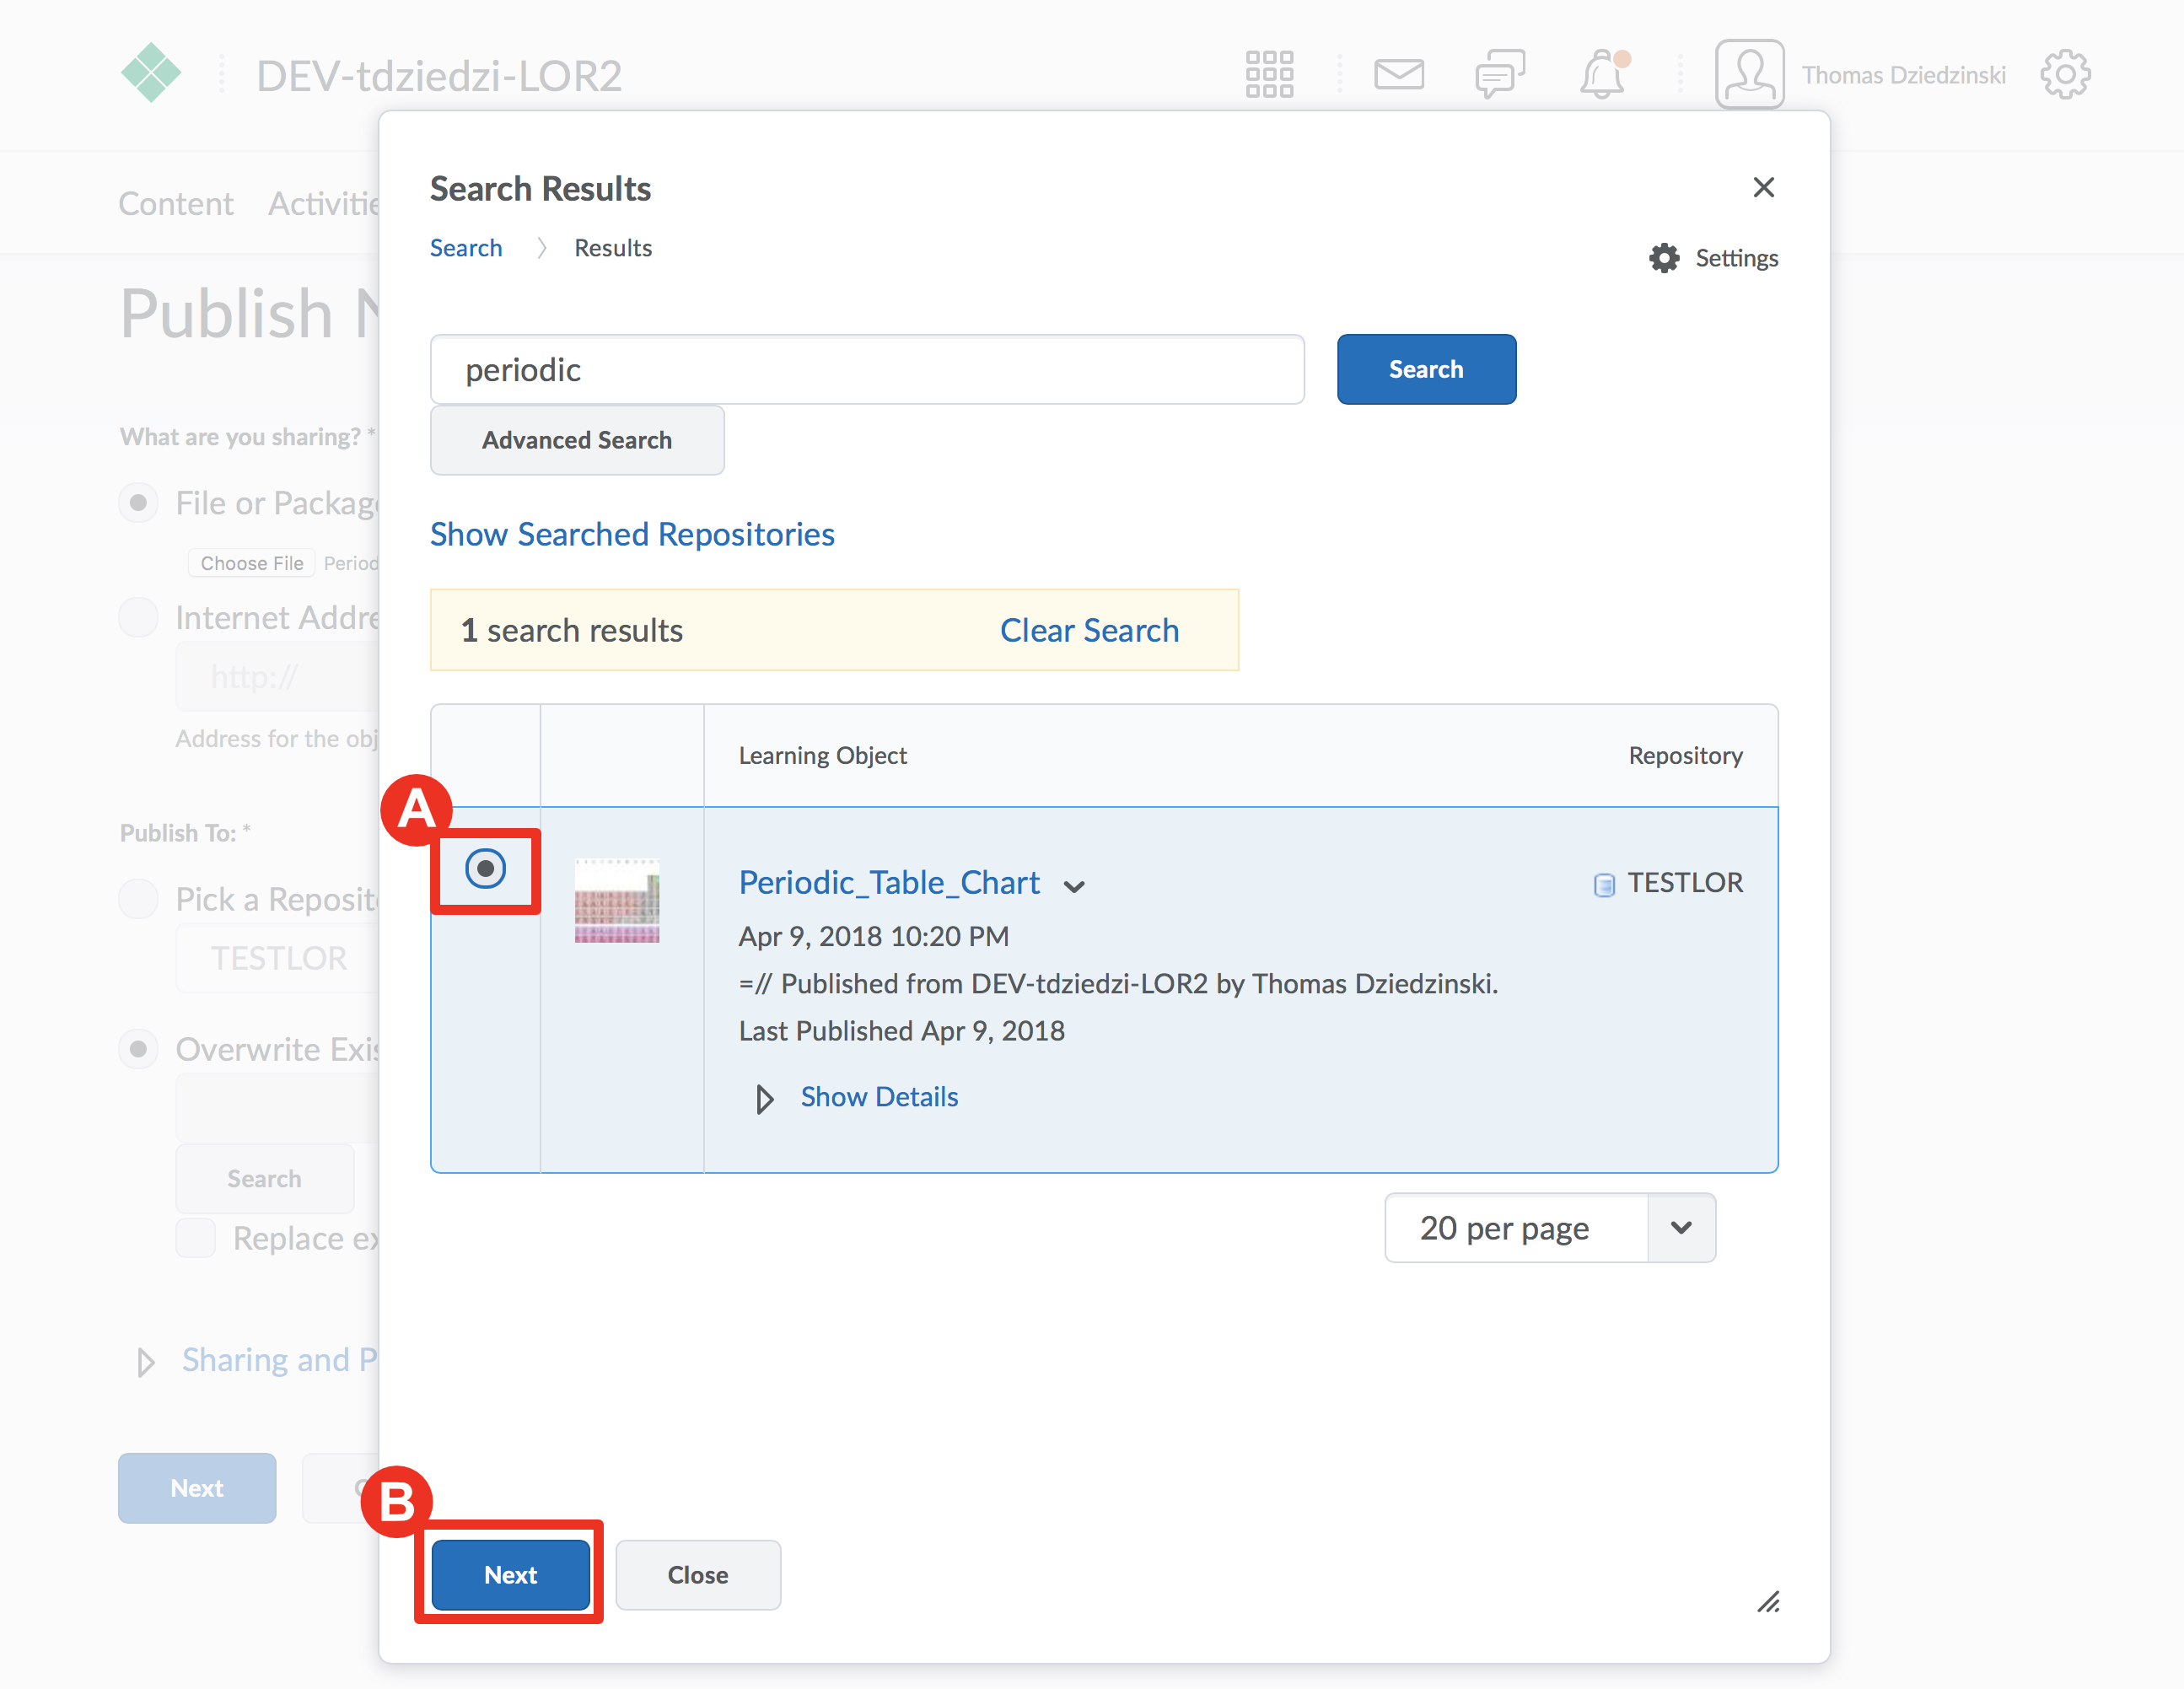
Step 4
Perform a search (A) or browse for (B) a learning object to overwrite

Step 5
Select the object (A), and then click the “Next” button (B)
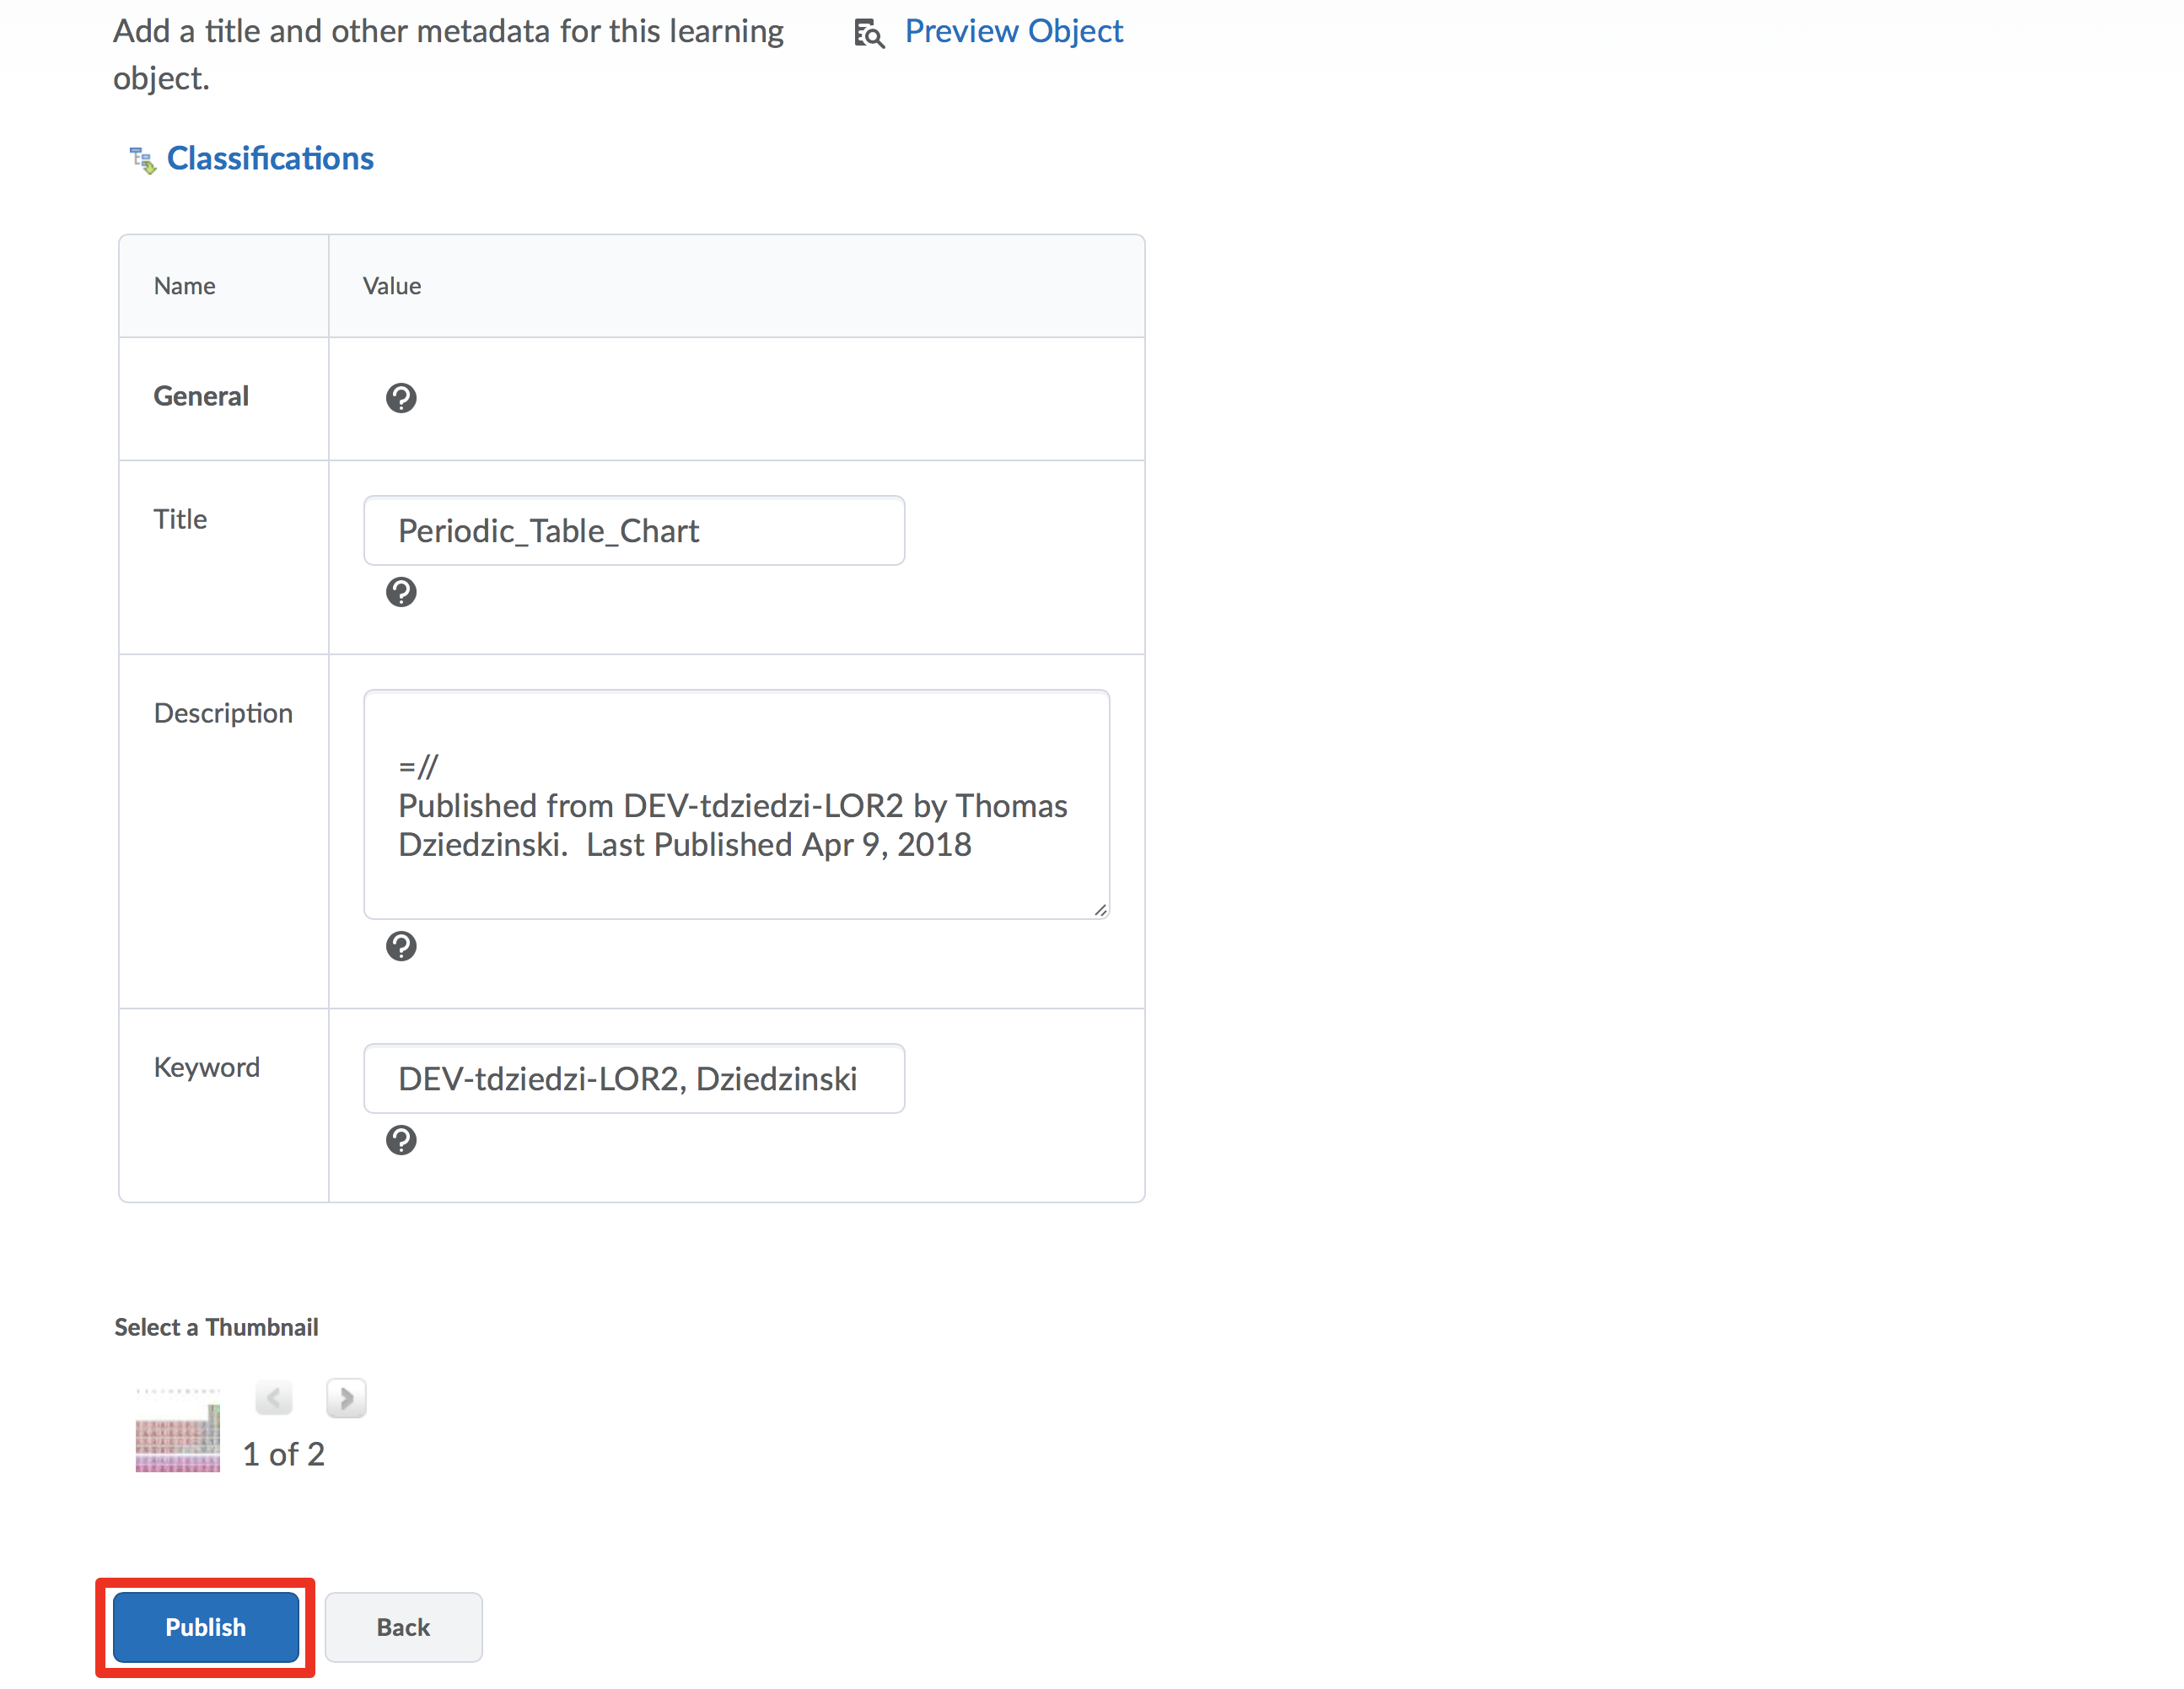
Step 6
Fill out or update the metadata information for your learning object. You may wish to include what changes or additions have been made to it.
Click here to access the module on metadata.
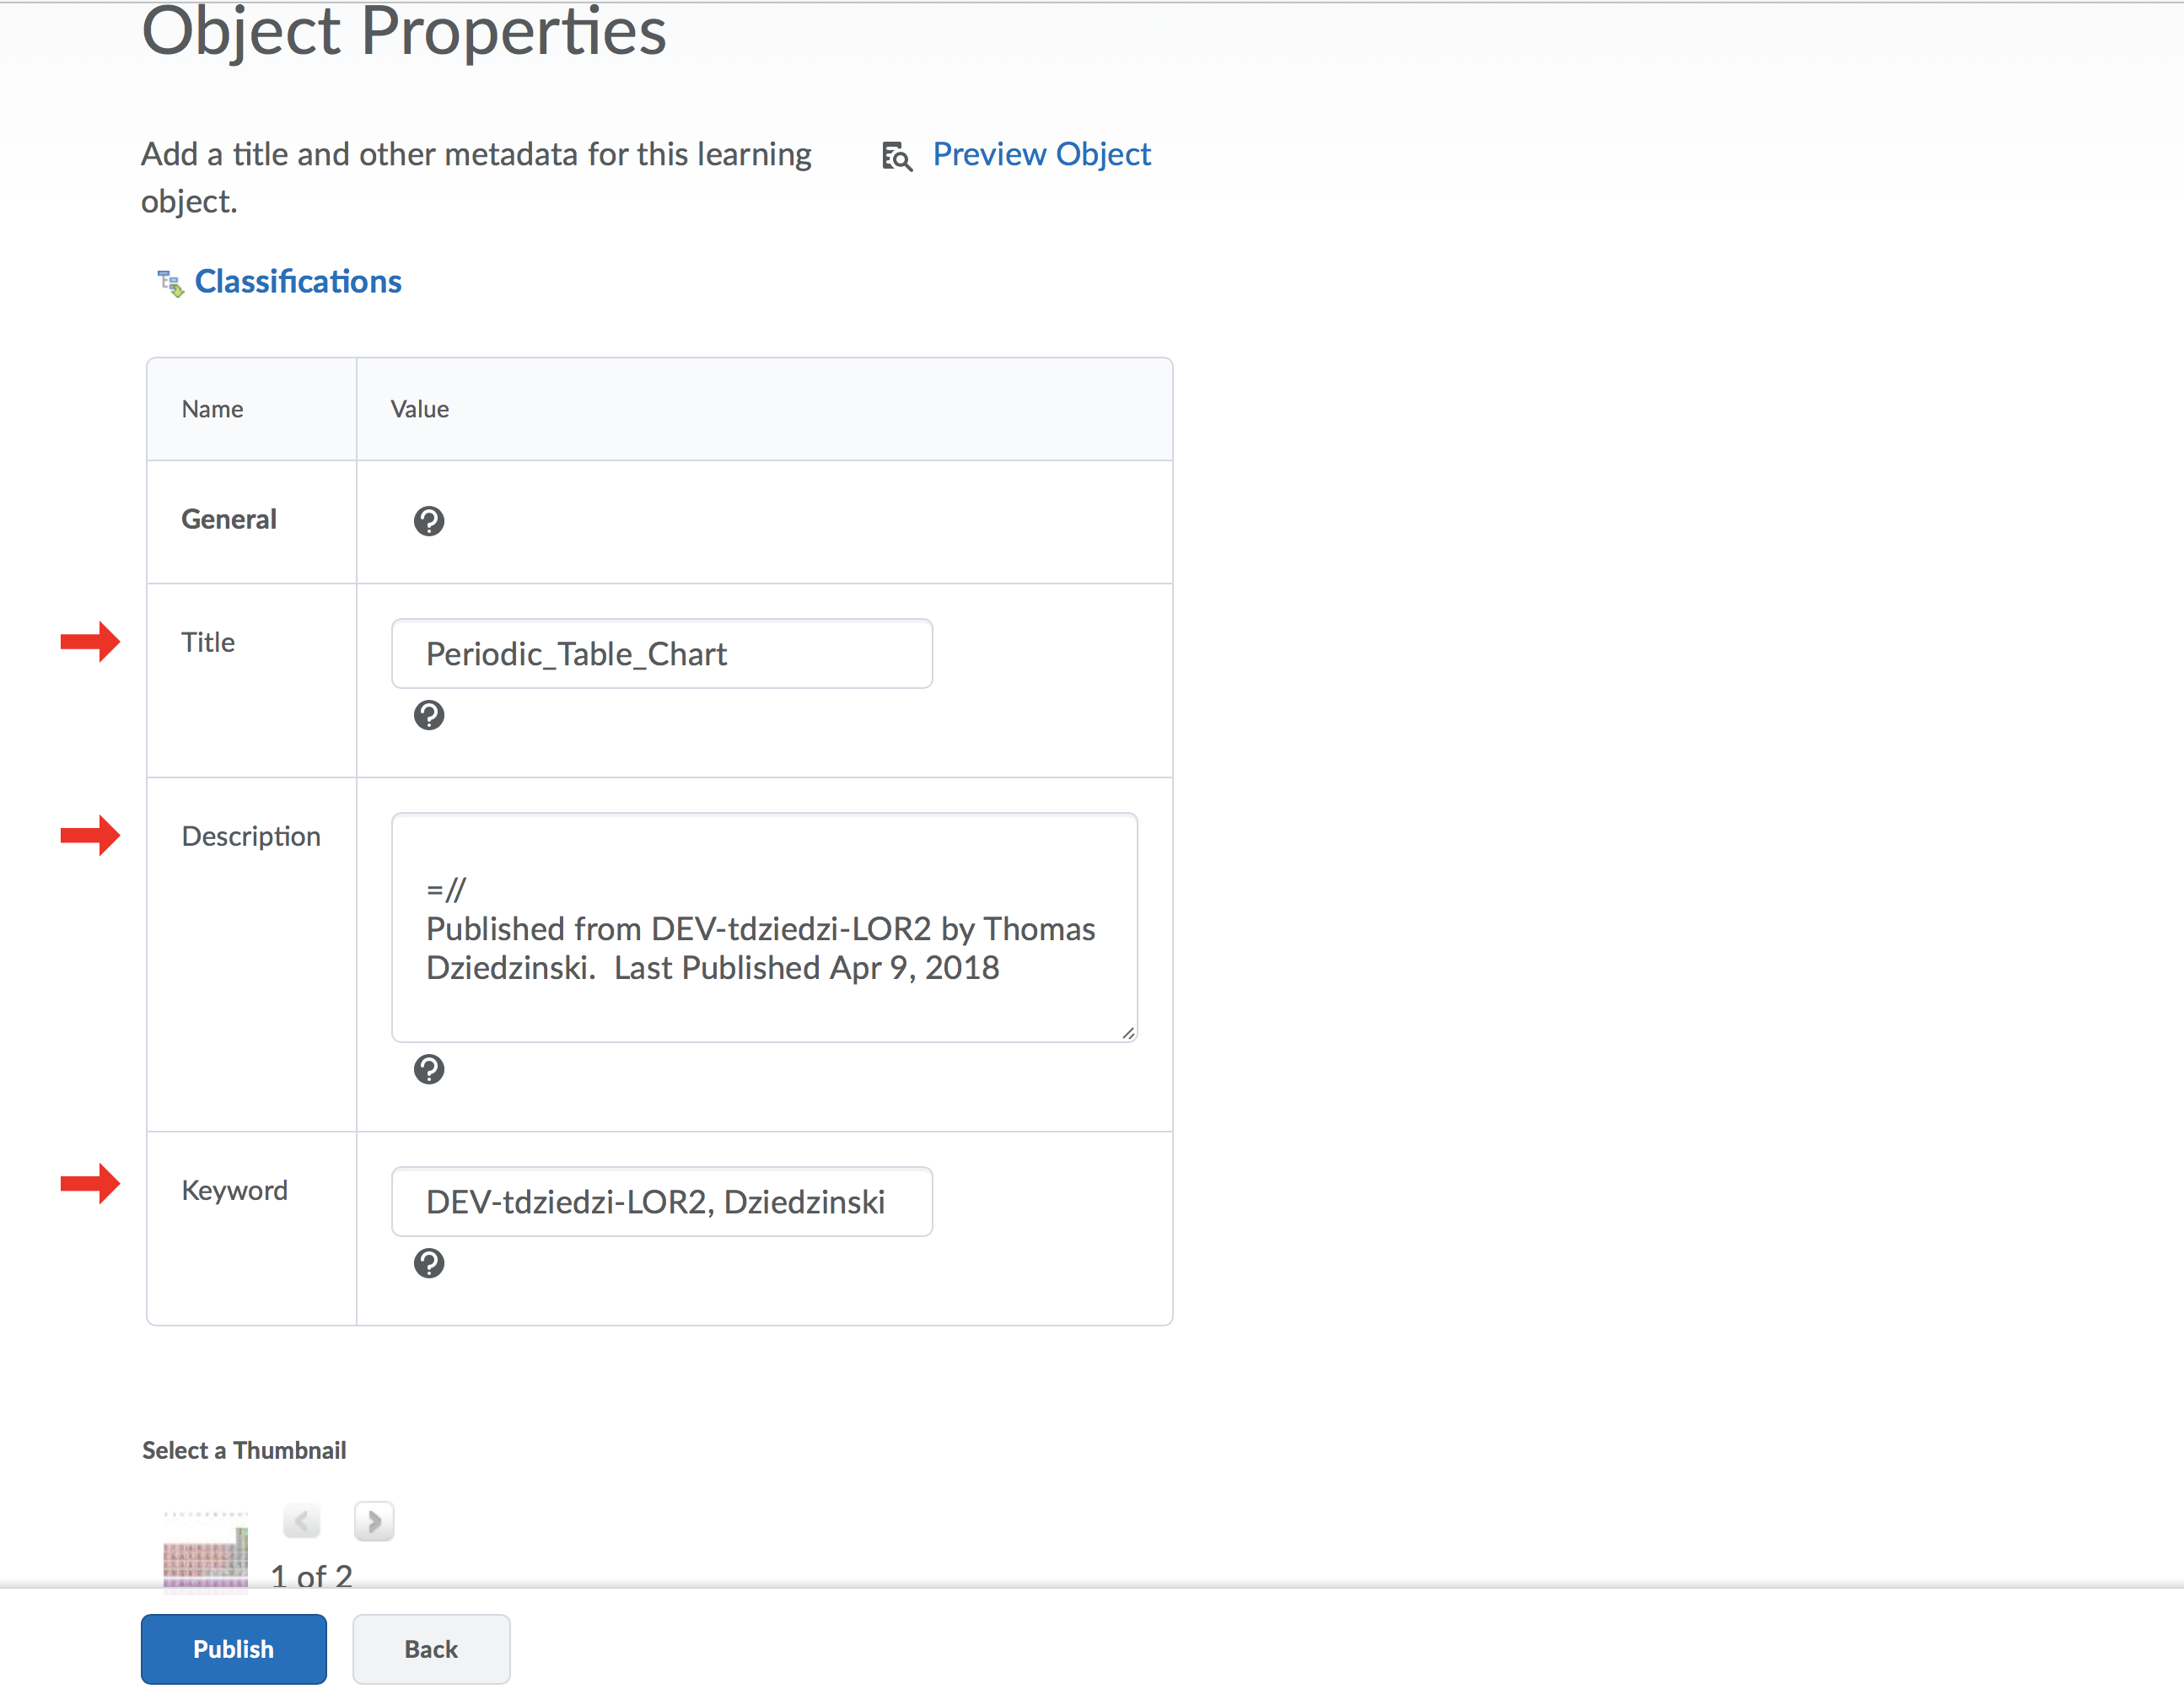
Step 7
After entering the metadata, click the "Publish" button to continue
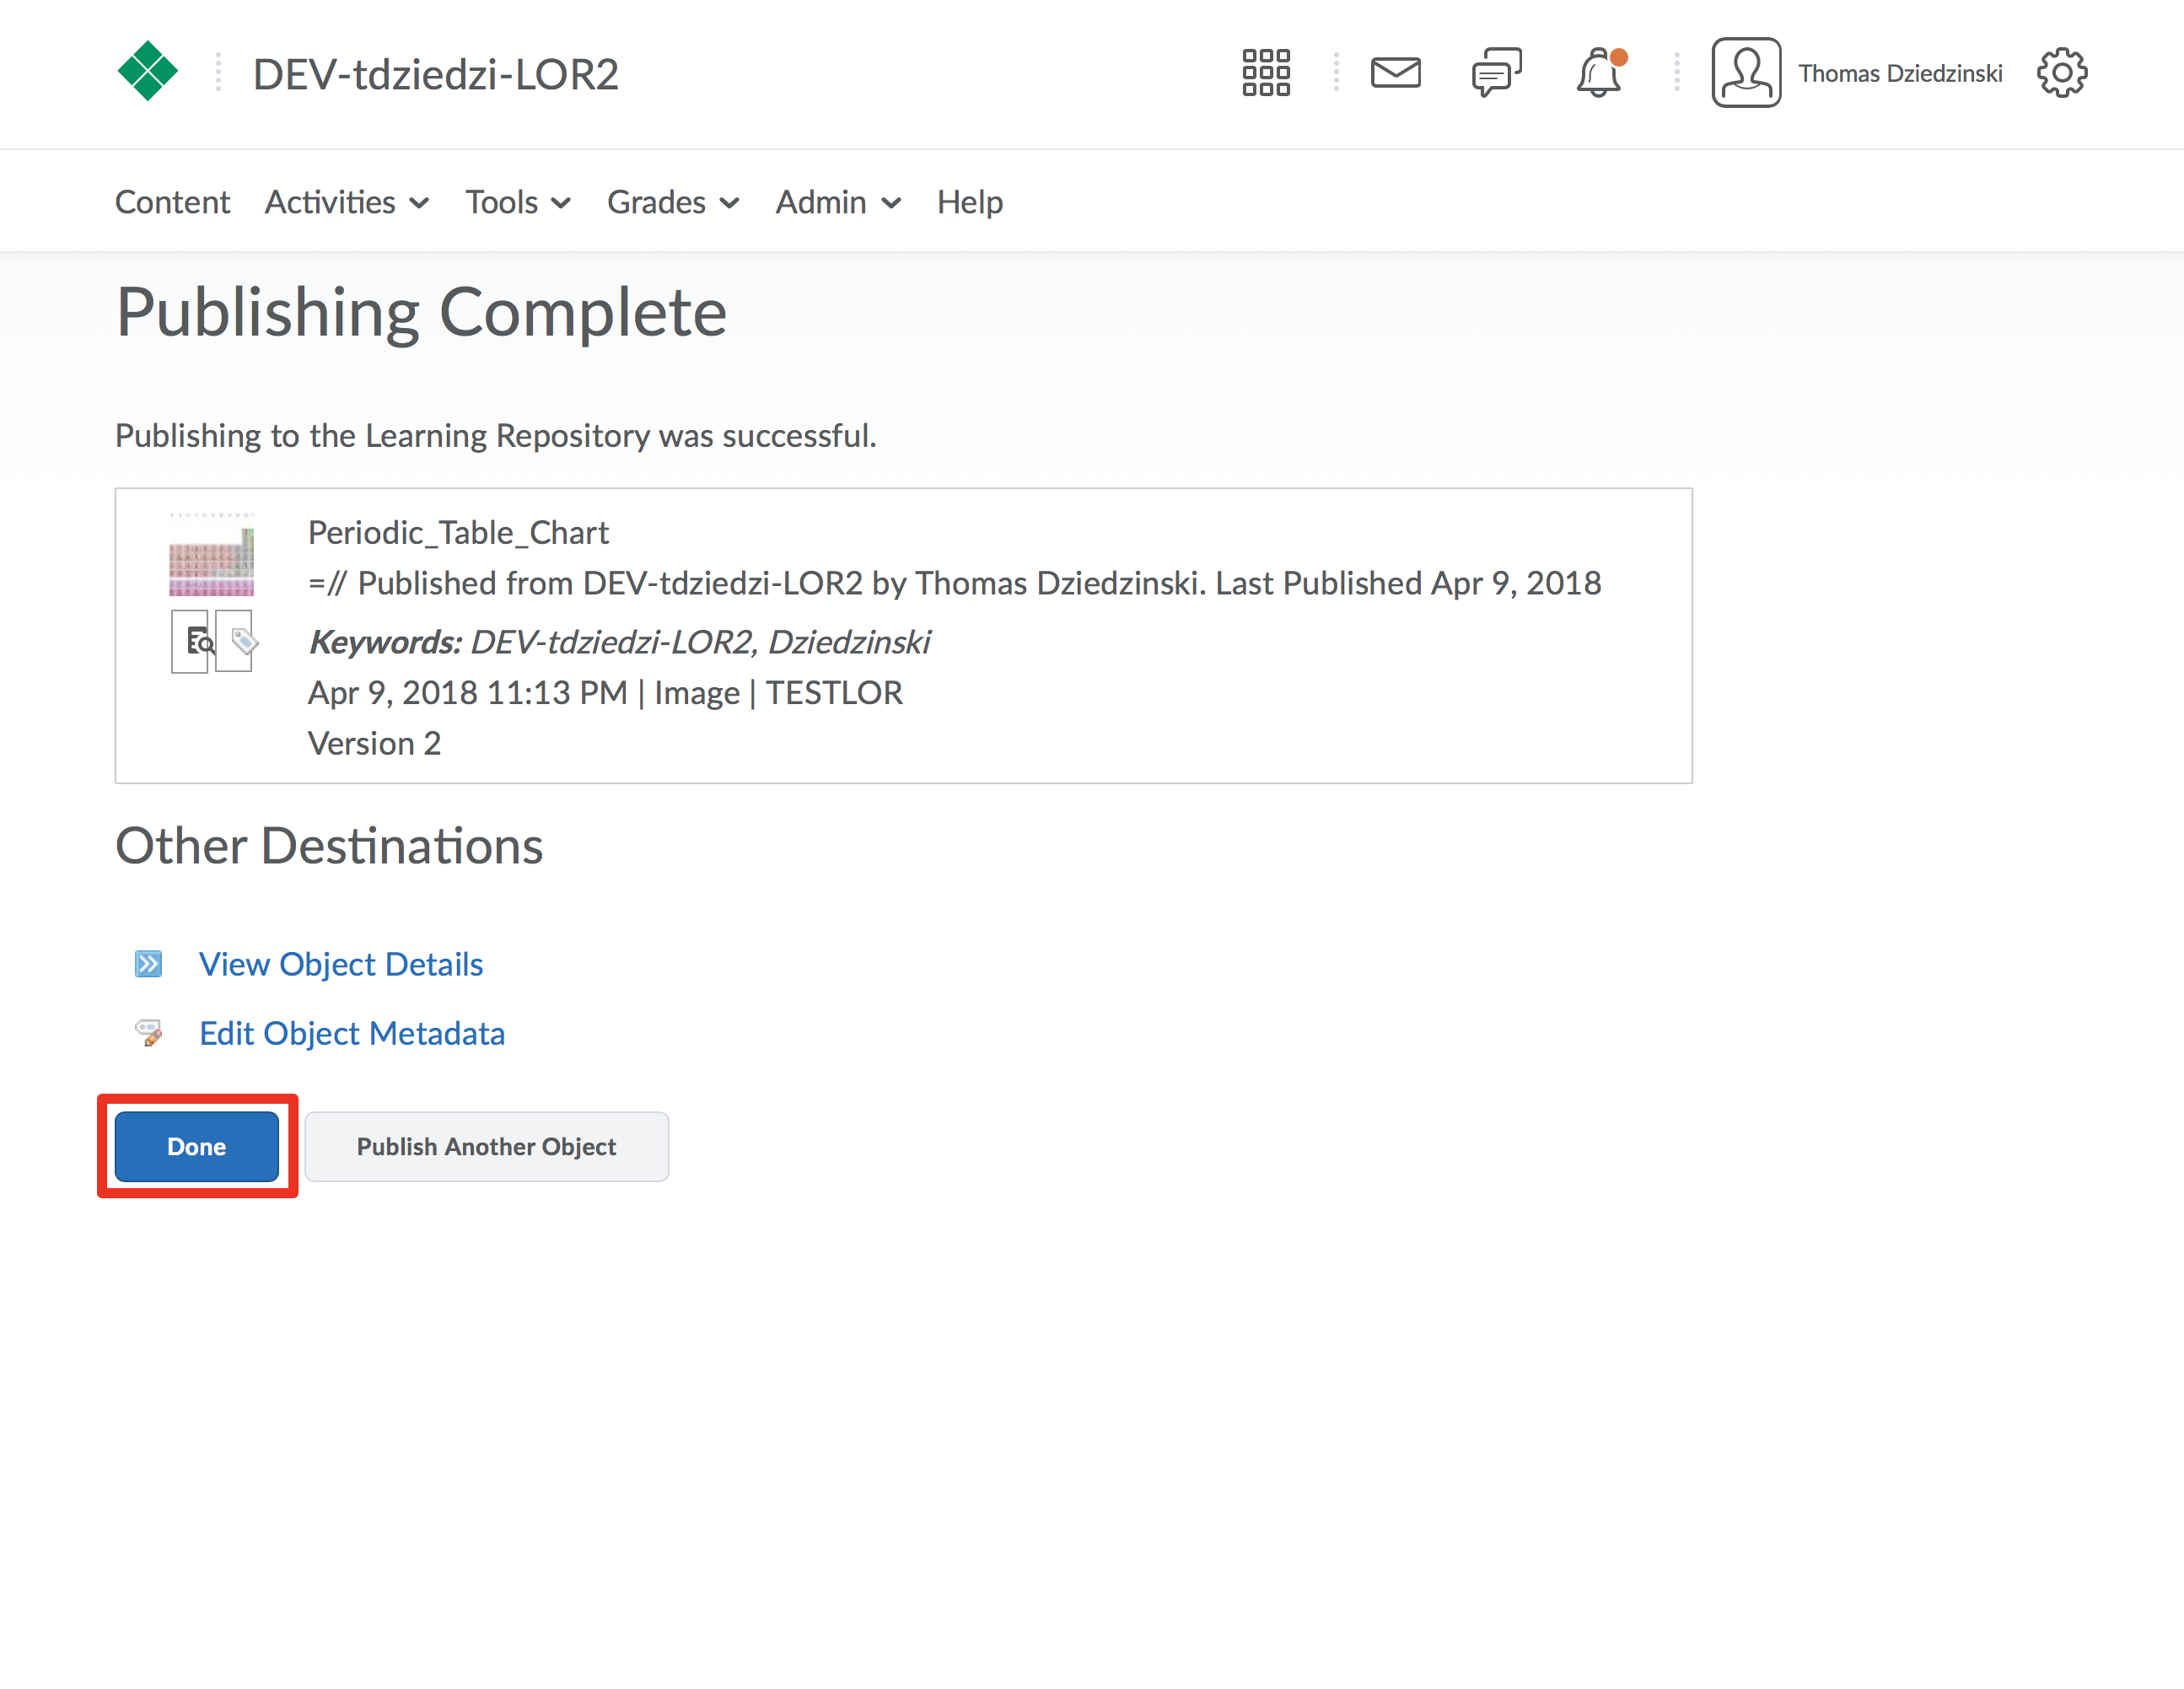
Step 8
After the process completes, click the "Done" button to finish